
Email Help
Email Setup
How to set up your email
You can set up your NCN.NET account to sync with almost all desktop email clients and mobile apps. Follow the links below for detailed instructions on how to set up the most popular apps.
Already know how to set up email?
Server names and ports
These are the standard server name and port details for setting up access to email and calendaring for your NCN.NET account.
If you are looking for step-by-step set up instructions to set up your email software, please review our page on how to set up an email client.
We recommend using IMAP over POP to access your email. NCN.NET supports both protocols using the configurations below. You should use SSL with all of the protocols; insecure access is strongly discouraged and may be disabled in the future.
IMAP
| Server | mail.ncn.net |
|---|---|
| Port | 993 |
| SSL/TLS Encryption | Enabled, but not STARTTLS |
| Username | Your NCN.NET email address, including the domain |
| Password | Your NCN.NET password |
Note: Do not enable secure password authentication (SPA). It is not needed when you use SSL/TLS encryption and it will not work.
If your IMAP client supports it, you should try and set up the following folders: Trash, Sent, and Drafts.
POP
| Server | mail.ncn.net |
|---|---|
| Port | 995 |
| SSL/TLS Encryption | Enabled, but not STARTTLS |
| Username | Your NCN.NET email address, including the domain |
| Password | Your NCN.NET password |
SMTP
| Server | mail.ncn.net |
|---|---|
| Port | 587 |
| SSL/TLS Encryption | Enabled (STARTTLS) |
| Authentication | PLAIN |
| Username | Your NCN.NET email address, including the domain |
| Password | Your NCN.NET password |
If your client supports STARTTLS only, you can use port 587 with STARTTLS enabled.
Calendar (CalDav)
| Server | https://mail.ncn.net/cal/ |
|---|---|
| Username | Your NCN.NET email address, including the domain |
| Password | Your NCN.NET password |
Android Setup
To set up the native Android Email app:
- Open the Email app. If you don't already have an account set up, the Account setup dialog should appear. Otherwise, open the app's menu, then go to Settings and tap Add Account.
- Fill in your email address and password:
- Email address: Your full NCN.NET username, including the domain.
- Password: Your NCN.NET password.

Tap Next.
- Tap IMAP.

- Change the server, port and security type for your incoming mail:
- Server:
mail.ncn.net - Port:
993 - Security type: SSL/TLS
- IMAP path prefix:
INBOXThis setting may not appear on older Android phones. If you don't see it, don't worry, it'll still work fine.
Your screen should look like this:

Tap Next.
- Server:
- Change the security type for your outgoing mail:
- Security type: STARTTLS
Your screen should look like this:

Tap Next.
- If you like, change the Inbox checking frequency (or leave it set to the default every 15 minutes), then tap Next.
- Fill in your name:
- Your name: The name people will see on the email you send.

Tap Next.
Your NCN.NET account is now ready to use.
iOS (Apple) Setup
The instructions in this setup guide are for iOS.
- Open the Settings app.
- Tap Mail, Contacts, Calendars.
- Tap Add Account, then Other (at the bottom of the list), then Add Mail Account.
- Fill in your name, email address, and password:
- Name: The name people will see on the email you send.
- Email: Your full NCN.NET username, including the domain.
- Password: Your NCN.NET password.
- Description: A name to identify this account (anything you like).
- Tap Next, then fill in the mail server settings as below, you will have to scroll to see them all.
- Name: The name people will see on the email you send.
- Email: Your full NCN.NET username, including the domain.
- Description: A name to identify this account (anything you like).
Incoming Mail Server
- Host Name: mail.ncn.net
- User Name: Your full NCN.NET username, including the domain.
- Password: Your NCN.NET password.
Outgoing Mail Server
- Host Name: mail.ncn.net
- User Name: Your full NCN.NET username, including the domain.
- Password: Your NCN.NET password.
- Tap Next, then tap Save.
Your NCN.NET account is now ready to use; open the Mail app to read your email. Check the rest of this help page for details of further settings you may wish to change.
Messages are disappearing from my Trash. How do I fix this?
By default, iOS deletes messages permanently after they've been in the Trash for a week. To change this behavior:
- Open the Settings app.
- Tap Mail, Contacts, Calendars.
- Tap your NCN.NET account in the list at the top. It will be labelled with whatever you typed in for the Description field when you set it up.
- Tap Account, scroll to the bottom and tap Advanced.
- Under Deleted Messages, tap Remove and change the setting from "After one week" to "Never".
- Tap to go back to your Account, then tap Done.
eM Client (Windows) - Tech Support Recommended
How to set up eM Client
The instructions and screenshots in this setup guide are for the latest version of eM Client, which you can download for free for Windows.
- Open eM Client. The New Account window will appear with the Automatic Setup section open.
- Fill in your email address and password:
- Email address: Your full NCN.NET username, including the domain.
- Password: Your NCN.NET password.
Click Start Now. eM Client will find the server settings.

- Fill in Your name. This is the name people will see on the email you send.

- Click Next, then click Finish.
Mail.app (Mac OS X)
How to set up Mail.app on Mac OS X
The instructions and screenshots in this setup guide are for Mac OS X 10.9 (Mavericks) . Previous versions of OS X are very similar, but may require more details to be entered manually.
587
- Open Mail.app. If you do not already have any accounts set up, it will prompt you to set up a new account. Otherwise, go to Mail → Preferences and select the Accounts tab. Click the + at the lower left of the screen. Select Add Other Mail Account…

- Fill in your name, email address and password and click Create:
- Full Name: The name people will see on the email you send.
- Email Address: Your full NCN.NET username, including the domain.
- Password: Your NCN.NET password.

- Select IMAP and fill in the mail server, user name and password and click next:
- Account Type: IMAP
- Mail Server: mail.ncn.net
- User Name: Your full NCN.NET username, including the domain.
- Password: Your NCN.NET password.

- Leave this screen at the default settings and click next:
- Path Prefix:
- Port: 143
- Use SSL: Yes
- Authentication: Password

- Fill in the SMTP server, user name and password and click create:
- SMTP Server: mail.ncn.net
- User Name: Your full NCN.NET username, including the domain.
- Password: Your NCN.NET password.

- Leave this screen at the default settings:
- Port: 587
- Use SSL: Yes
- Authentication: Password

- Click the Create button. The account will be created and Mail.app will start syncing your mail.
Outlook (Windows)
How to set up your mail in Outlook
The instructions and screenshots in this setup guide are for Outlook 2013. However, previous versions of Outlook are very similar, and you should be able to more-or-less follow the same steps to set up.
- Open Outlook. It may ask you to set up a new account. If it does not, click the
 button in the top left of the window, then click
  .
. - Choose Manual setup or additional server types at the bottom of the page. Click Next.

- Choose POP or IMAP. Click Next.

- Fill in the user information:
- Your Name: The name people will see on the email you send.
- Email Address: The email address you wish to use for sending mail (this is normally your NCN.NET username, but can be an alias or another address at your own domain).
Fill in the server information:
- Account Type: IMAP
- Incoming mail server:
mail.ncn.net - Outgoing mail server:
mail.ncn.net
Fill in the logon information:
- User Name: Your full NCN.NET username, including the domain.
- Password: Your NCN.NET password.
The screen should look similar to the image below:

- Click the More Settings… button in the lower right of the window.
- Select the Outgoing Server tab and tick the My outgoing server (SMTP) requires authentication box.

- Select the Advanced tab.
- Set the Incoming server to use SSL encryption.
- Set the Incoming port to be 993.
- Set the Outgoing server to use TLS encryption.
- Set the Outgoing port to be 587.
It should look exactly as in the screenshot below:

- Click OK to save your changes and close the window. Click Next on the Add Account window. Outlook will perform a connection test. If it finds any issues, double check you've not made a mistake following the steps above.
- Close the connection test window and click Finish.
Thunderbird (Universal)
How to set up Thunderbird
The instructions and screenshots in this setup guide are for the latest version of Thunderbird, which you can download for free for Windows, Mac OS X or Linux.
- Open Thunderbird. The Welcome to Thunderbird dialog will appear. If it doesn't, select Local Folders in the sidebar on the left, then under the Create a new account heading in the page that appears, click the Email link.
- Click the Skip this and use my existing email button, at the bottom of the window.
- Fill in your name, email address and password:
- Your name: The name people will see on the email you send.
- Email address: Your full NCN.NET username, including the domain.
- Password: Your NCN.NET password.
Click Continue. Thunderbird will find the server settings.
- Select IMAP on the next page.
- Click Done. Thunderbird will fetch the list of your folders and start synchronising your mail. If this doesn't seem to be happening, close and reopen Thunderbird; it sometimes gets stuck the very first time it tries to connect.
Windows Live Mail (Windows) - No Support as of 2018
How to set up Windows Live Mail
Windows Live Mail is an email client for Windows 7 or 8. You can download it for free from the Microsoft website.
- Open Windows Live Mail. The "Add your email accounts" dialog will appear.
If it does not, click the
button in the top left of the window, then Options → Email accounts… to open the Accounts window. Click the Add… button. - Fill in your name and email address:
- Email Address: The email address you wish to use for sending mail (this is normally your NCN.NET username, but can be an alias or another address at your own domain).
- Password: Your NCN.NET password.
- Display name for your sent messages: The name people will see on the email you send.
The screen should look similar to the image below:

- Click Next.
Fill in the Incoming server information:
- Server type: IMAP
- Server address:
mail.ncn.net - Port:
993 - Require a secure connection (SSL): Yes
- Authenticate using: Clear text
- Logon user name: Your full NCN.NET username, including the domain.
Fill in the Outgoing server information:
- Server address:
mail.ncn.net - Port:
587 - Require a secure connection (SSL): Yes
- Require authentication: Yes
It should look exactly as in the screenshot below (but with your username instead):

- Click Next, then Finish.
If the app you want to use is not listed above, you'll have to check its documentation on how to set up an IMAP account. You may need the information within the Already know how to set up email? dropdown above if it can't discover the correct settings automatically. Unfortunately, we are unable to offer technical assistance with other clients; please contact the vendor directly.
Video Tutorials
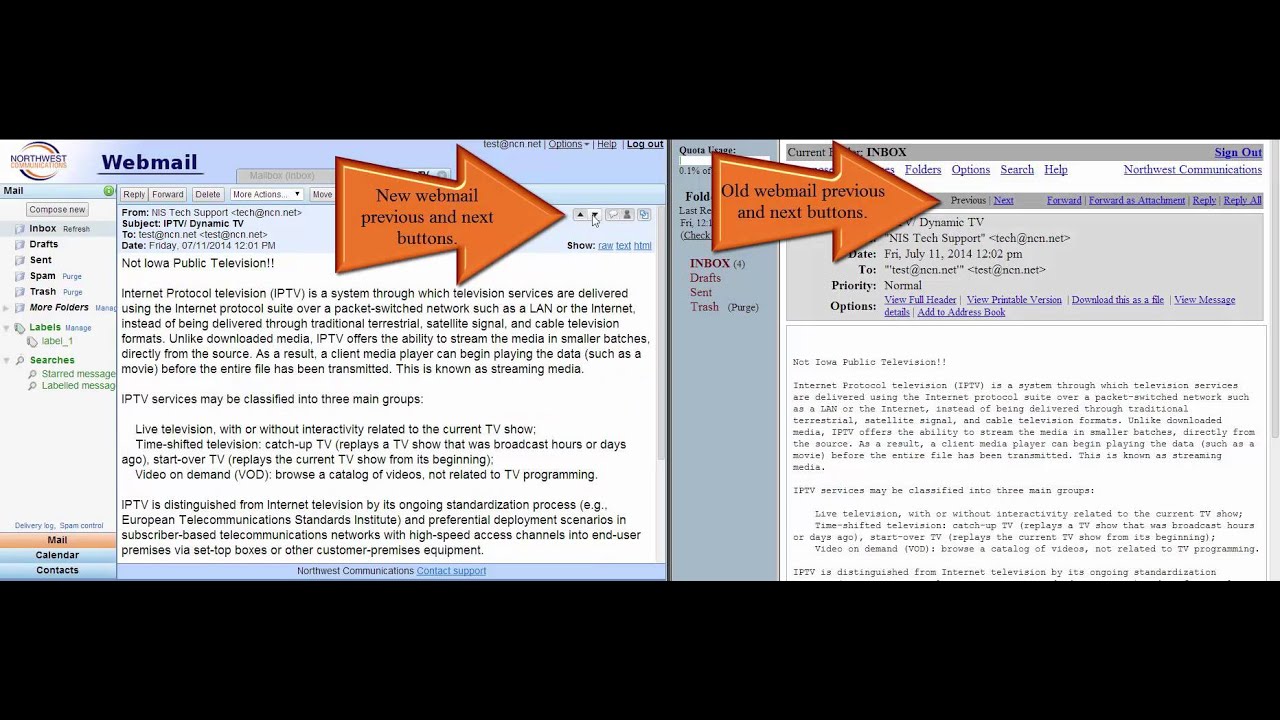
How to log in and view messages in Webmail

Replying, forwarding and composing a message in Webmail
Still need help? We got your back!
Tech Support Hours
Weekdays 7am - 8pm
On-Call: Evenings, Weekends, & Holidays
Call Today
Toll-Free 800-249-5251